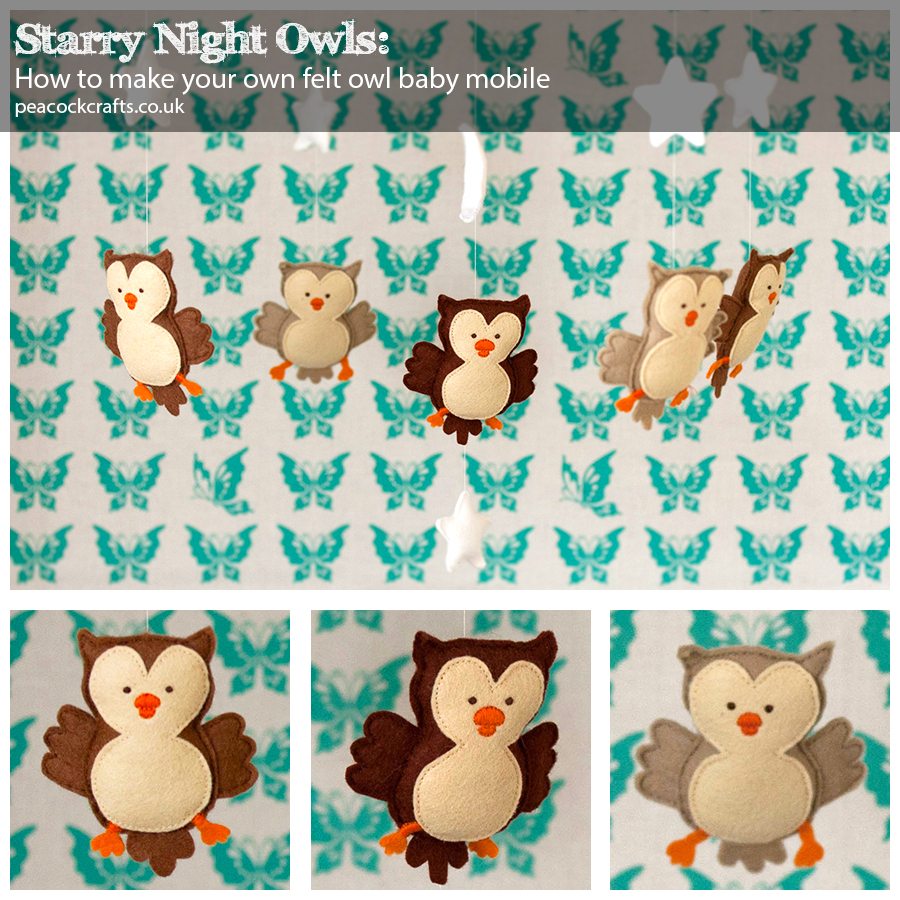
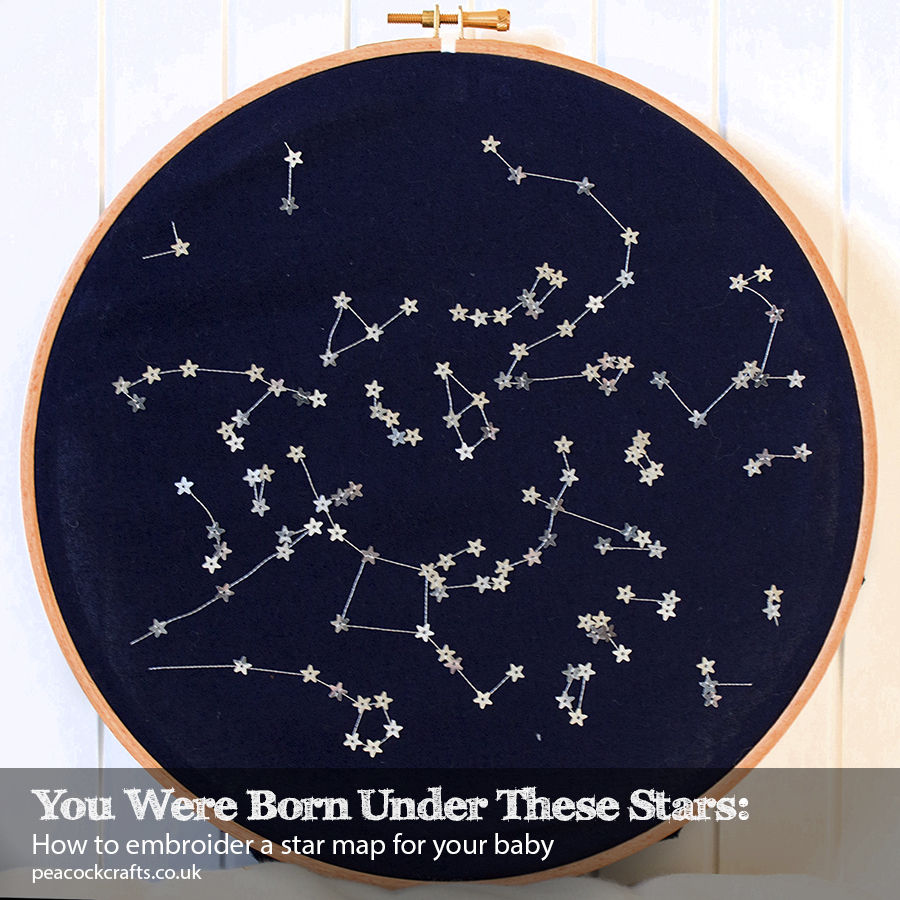


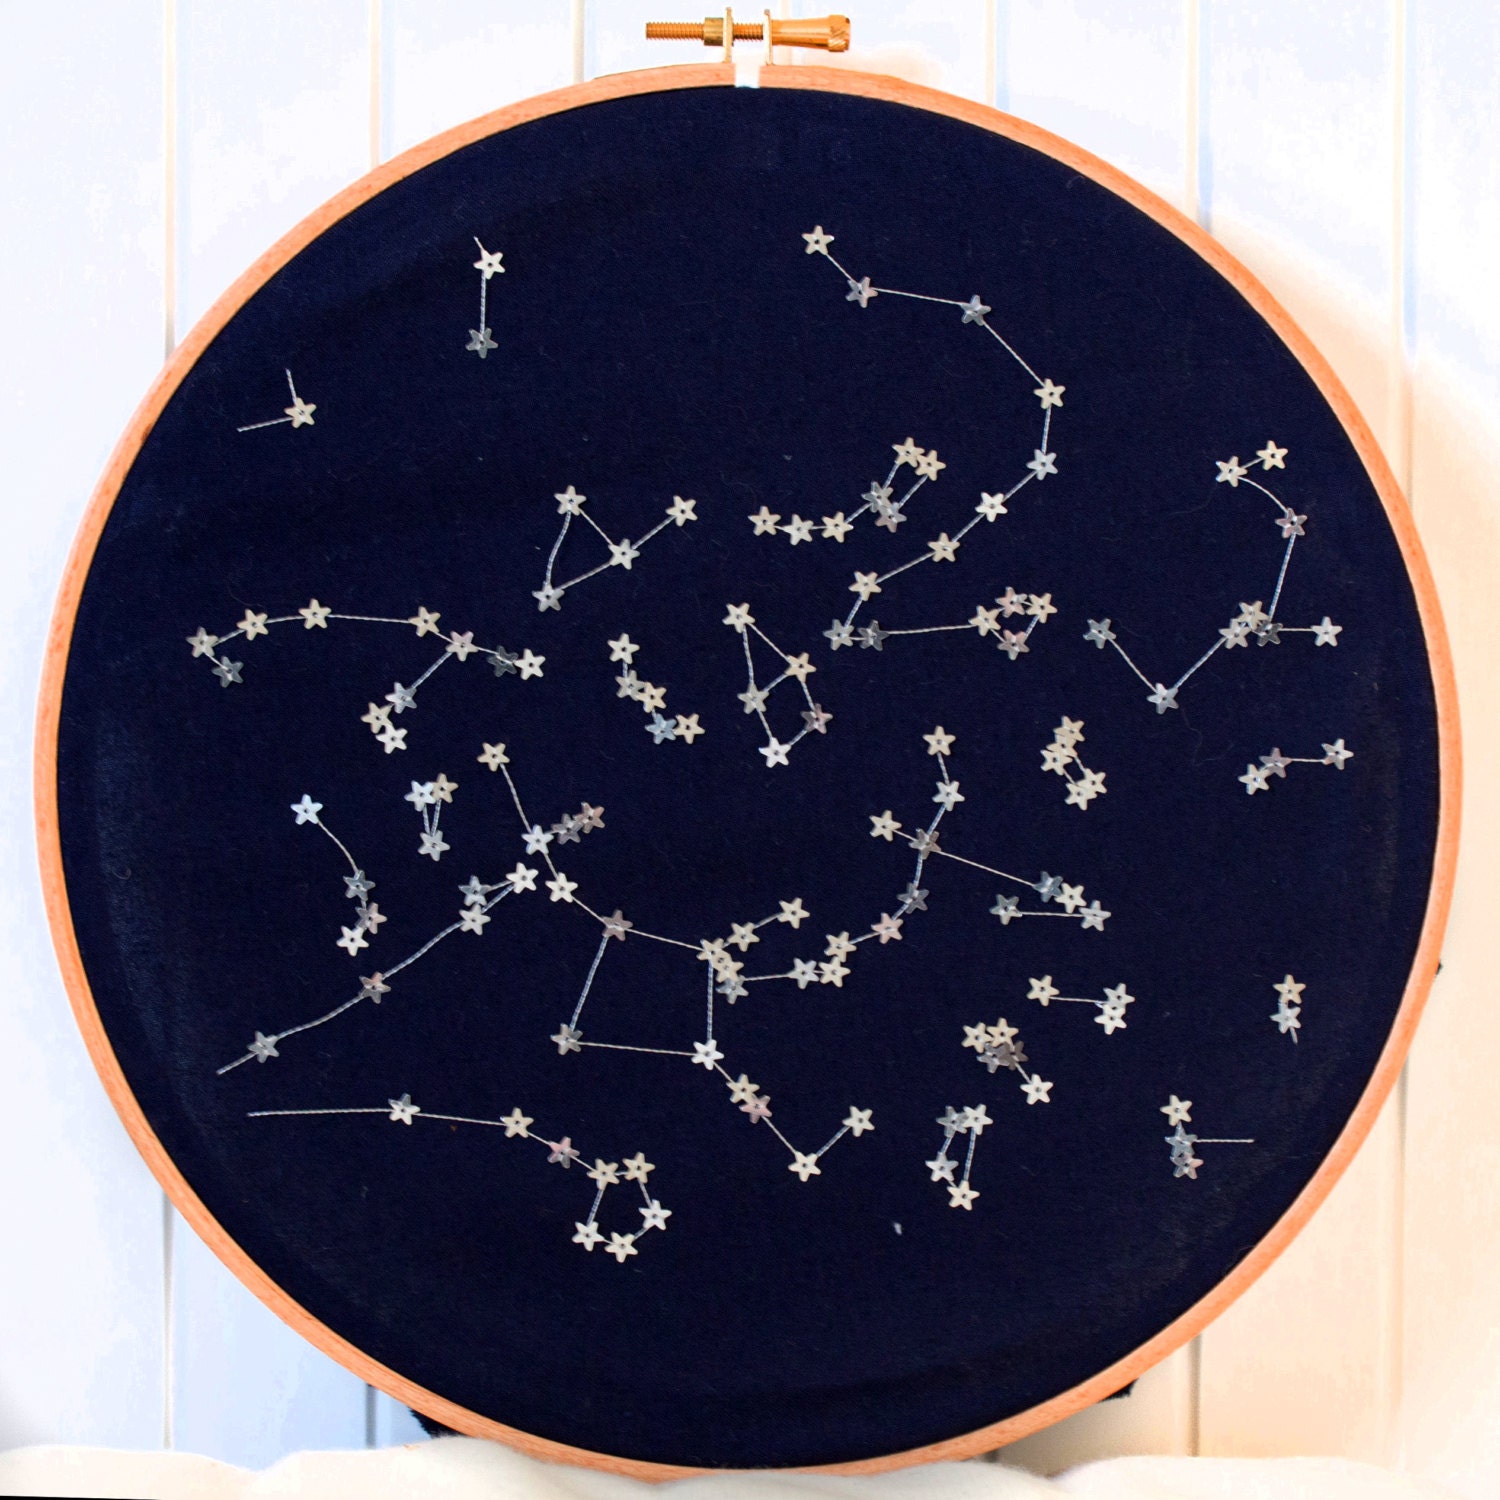
This tutorial will help you make a sweet project that looks great and sparks many memories for Mummies and Daddies of the day they became a family or an even bigger family! Easy to make, the embroidery project is simple in both the set-up and execution. I found that I could silently stitch away whilst my baby slept. I also love the fact that I have made something unique to him as the stars are in the correct positions down not just to the day, but the hour, minute and location of his birth.

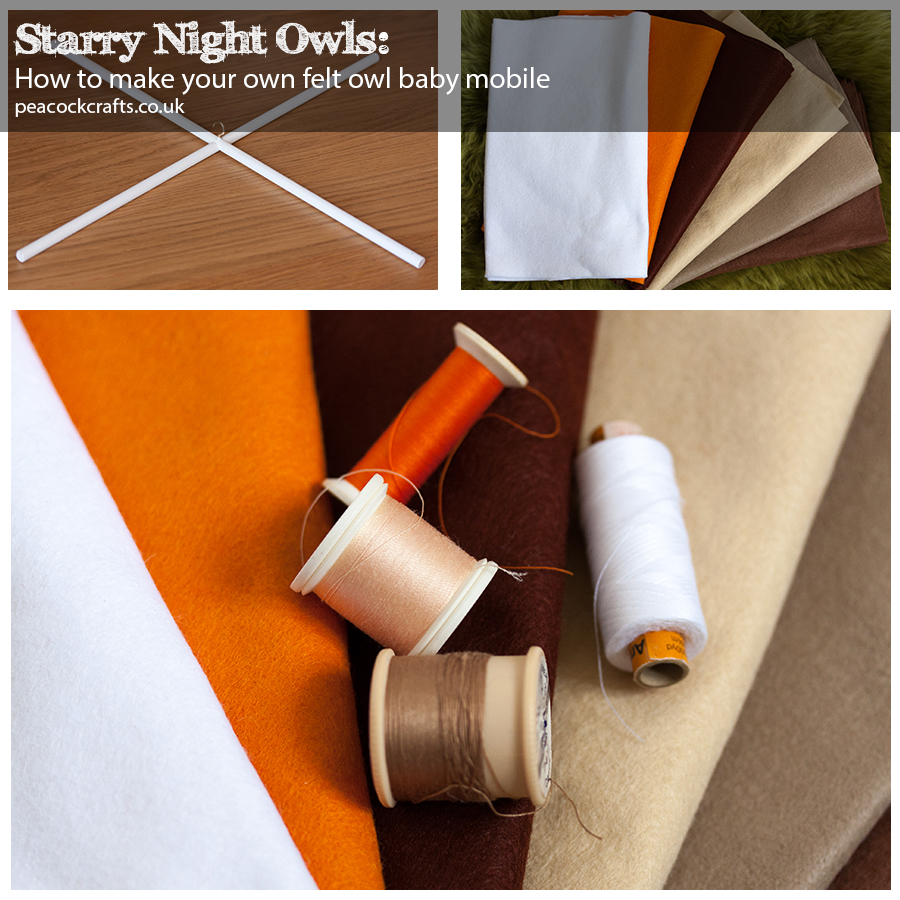
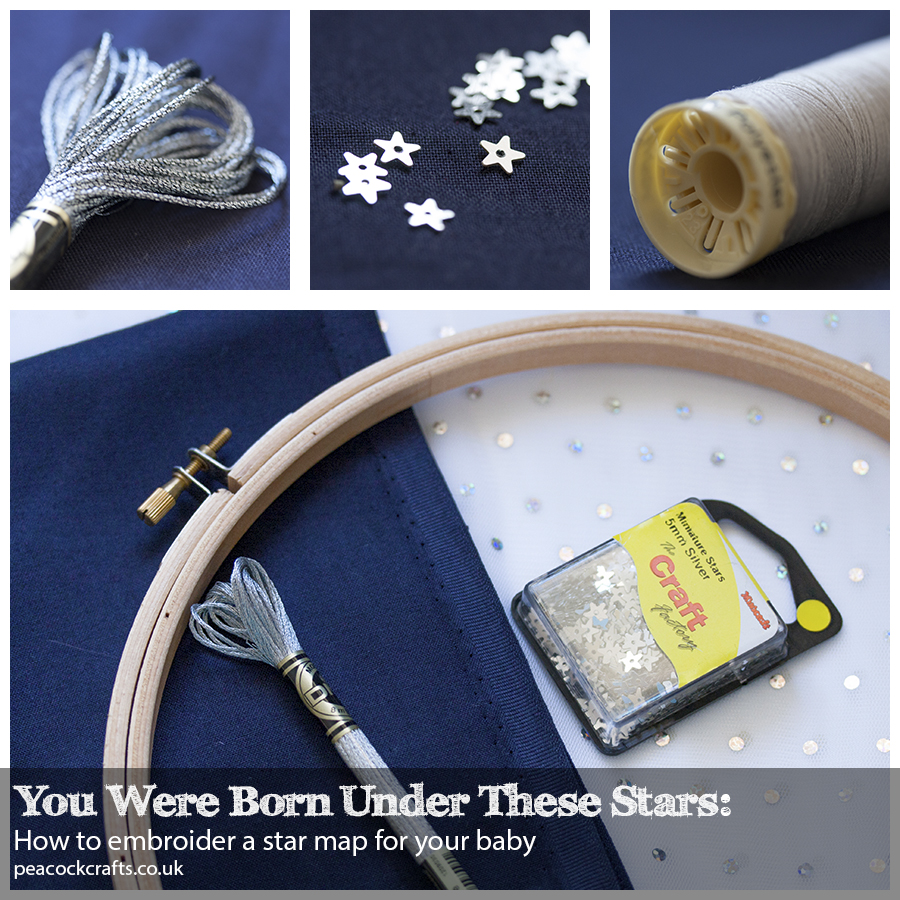
What will I need?
You can buy a kit for this project from my Etsy shop which includes all the materials needed plus a personalised star map.
Alternatively you will need to purchase these items:
- Navy cloth
- Metallic silver thread
- Grey thread
- Silver star sequins
- 9in Embroidery hoop
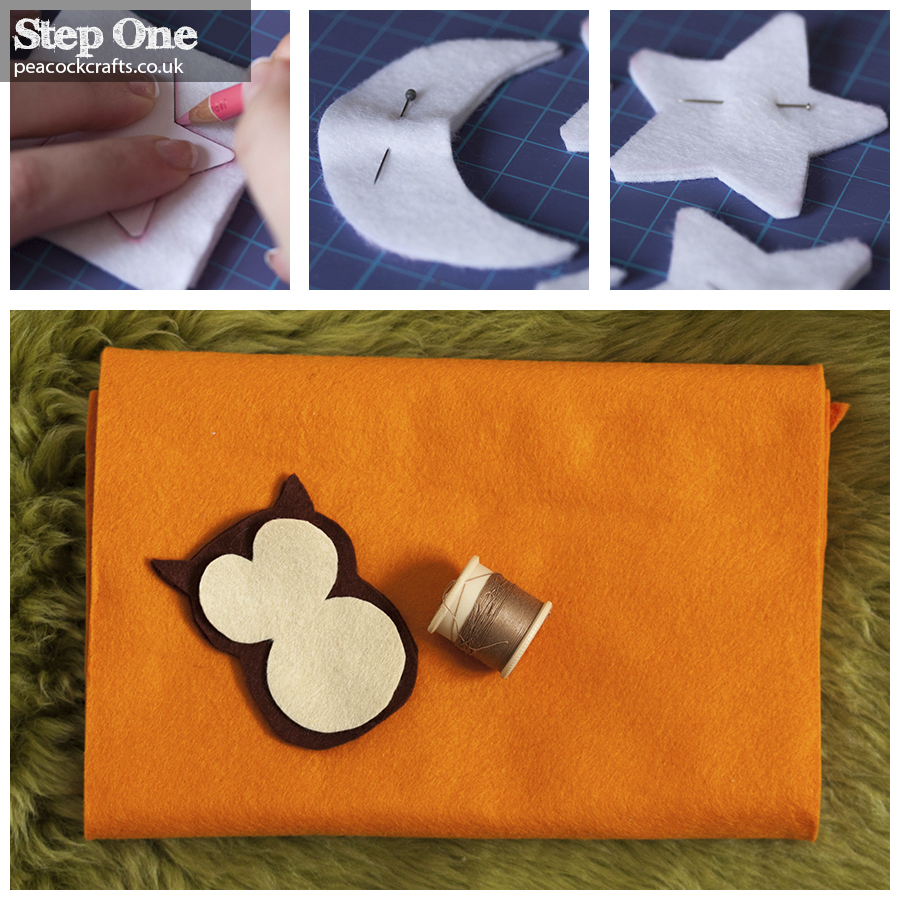
Step by step instructions
The first step is to obtain a star map for the date and time of your babies birth. I managed to draw up my own and you can purchase a personalised star map from my Etsy shop,

The Guardian website does produce monthly star maps which you could work with.

Once you have your star map, resize it so it will fit in your embroidery hoop (9in circle) and print it out onto A4 paper.
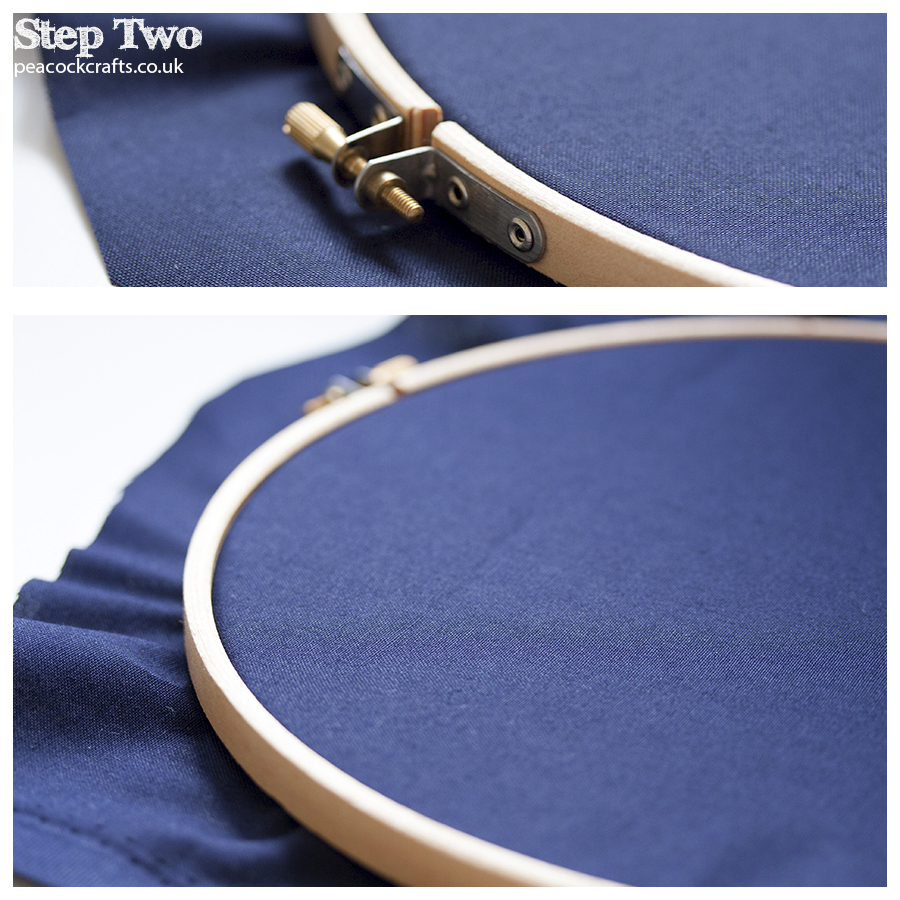
Separate the inner and outer embroidery hoops. Then cut a rough square of fabric out of your navy cloth and lay it over the inner embroidery hoop, there should be enough fabric overhanging the hoop to allow you to pull on it to stretch it. Place the outer hoop over the top of the inner hoop which will catch the fabric between the two hoops.
Slightly tighten the screw at the top of the embroidery hoop and beginning to pull the fabric at the back of the hoops. You should now slowly work your way around the hoop pulling the fabric tight and tightening the screw at the top. Take care not to over tighten the screw was this can place stress on the hoops, especially wooden ones.
Once you have done this you should have a nice tight piece of fabric to work on. The aim to to produce a taut surface to stitch on to which doesn’t pucker or twist as this can result in uneven stitches.
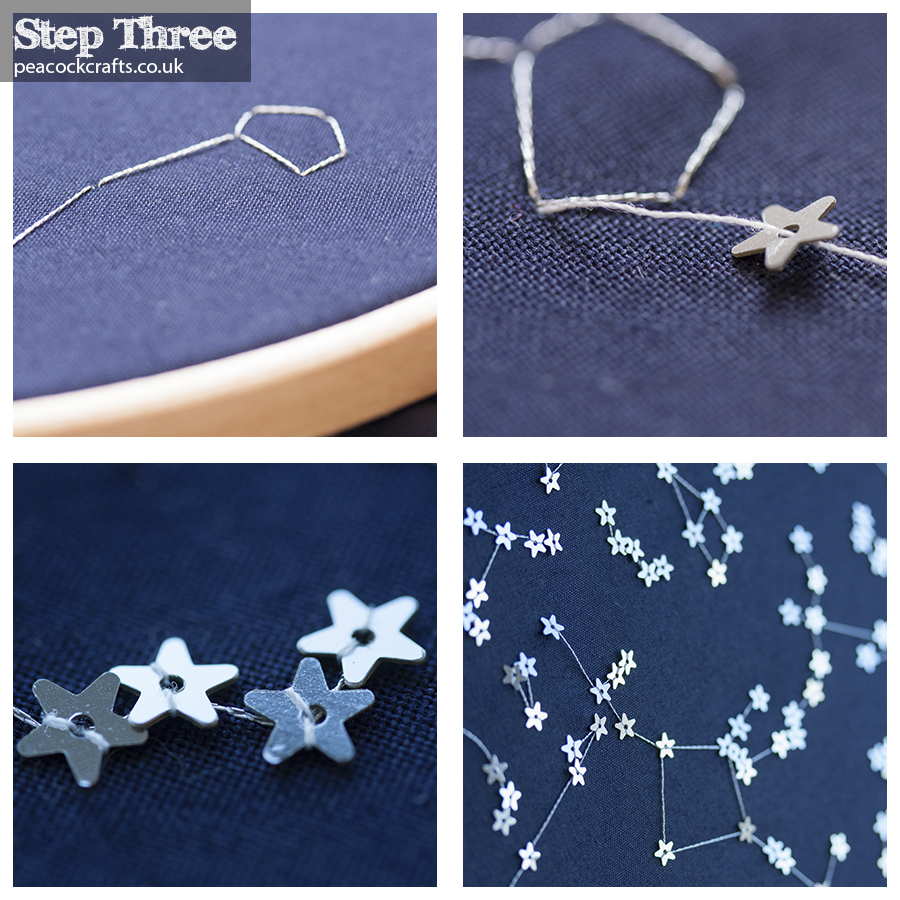
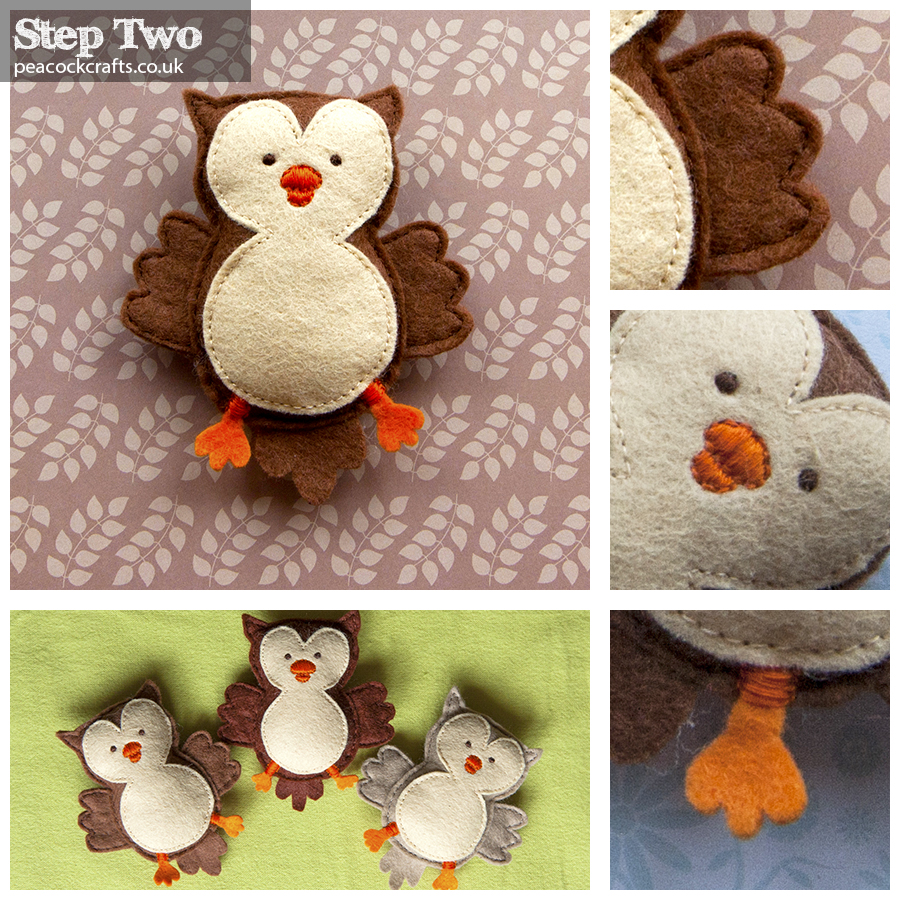
Pin the paper star map onto your embroidery hoop, ensuring that north lines up with the top hook. Then you simply need to just poke a needle through the paper and the cloth beneath, wiggle the needle around a bit to make an obvious hole in the material, then use the metallic thread to create the lines between the stars.
Depending on how you work you can either stitch an entire constellation and then stitch on the stars, or you can use the metallic thread to stitch all of the lines first then go back over and add in the stars. Either way work your way across the print out adding the lines and the stars. To attach the star sequins I simply took my thread up through the centre of the star, down each side of the star, using just two stitches. You should be able to see the stitching in the picture above which illustrates this step.
Once you have completed your design you can trim off the excess material leaving about 2cm of material around the hoop. You can either glue the material to the hoop if you are happy with your design and want to make it permanent or you can tuck the material behind the hoop and just hang onto your wall.